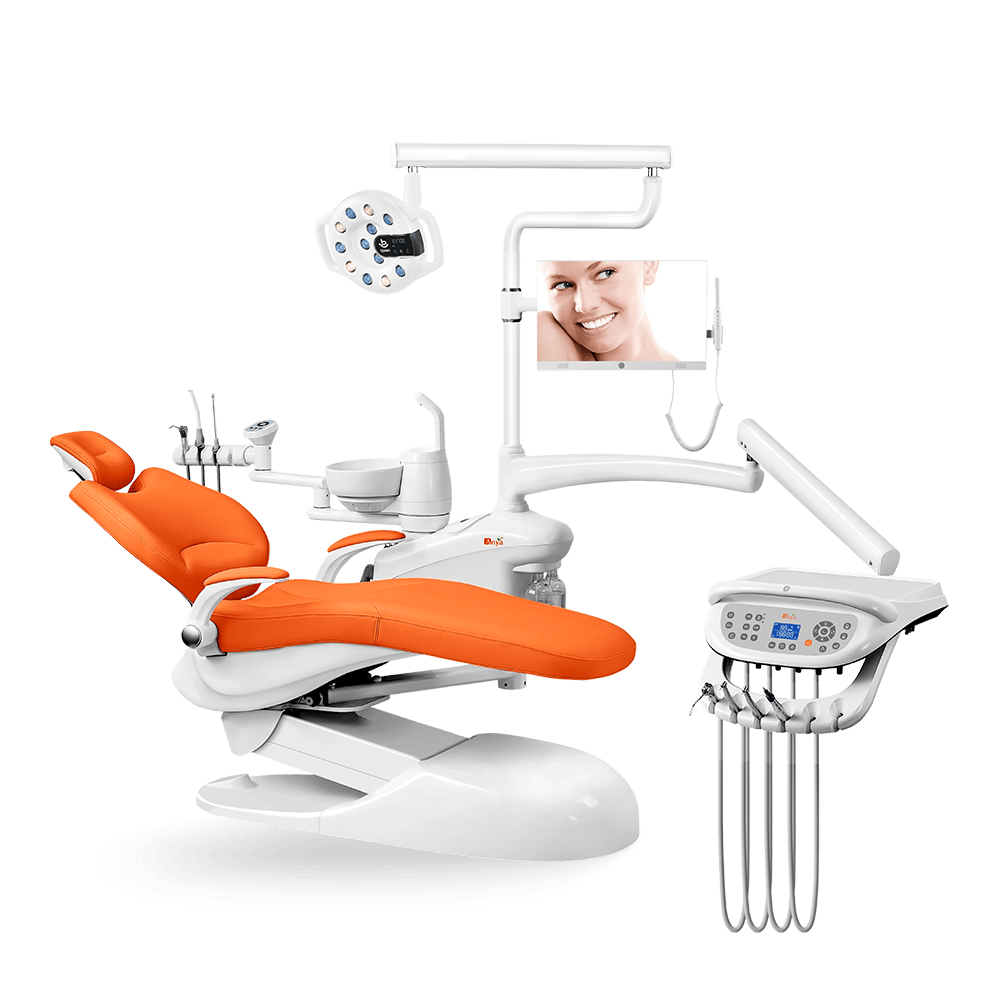
An orthodontic dental chair setup and a hygiene room chair setup look similar at first, but the daily workflow can be different. Orthodontic rooms often emphasize fast patient flow, repeated checks, assistant access, and clear communication. Hygiene rooms often emphasize patient comfort, visibility, suction reach, cleaning turnover, and efficient access to instruments. A good chair setup starts by defining the room purpose, then matching the chair, headrest, armrests, light, suction, stools, and storage to that workflow.
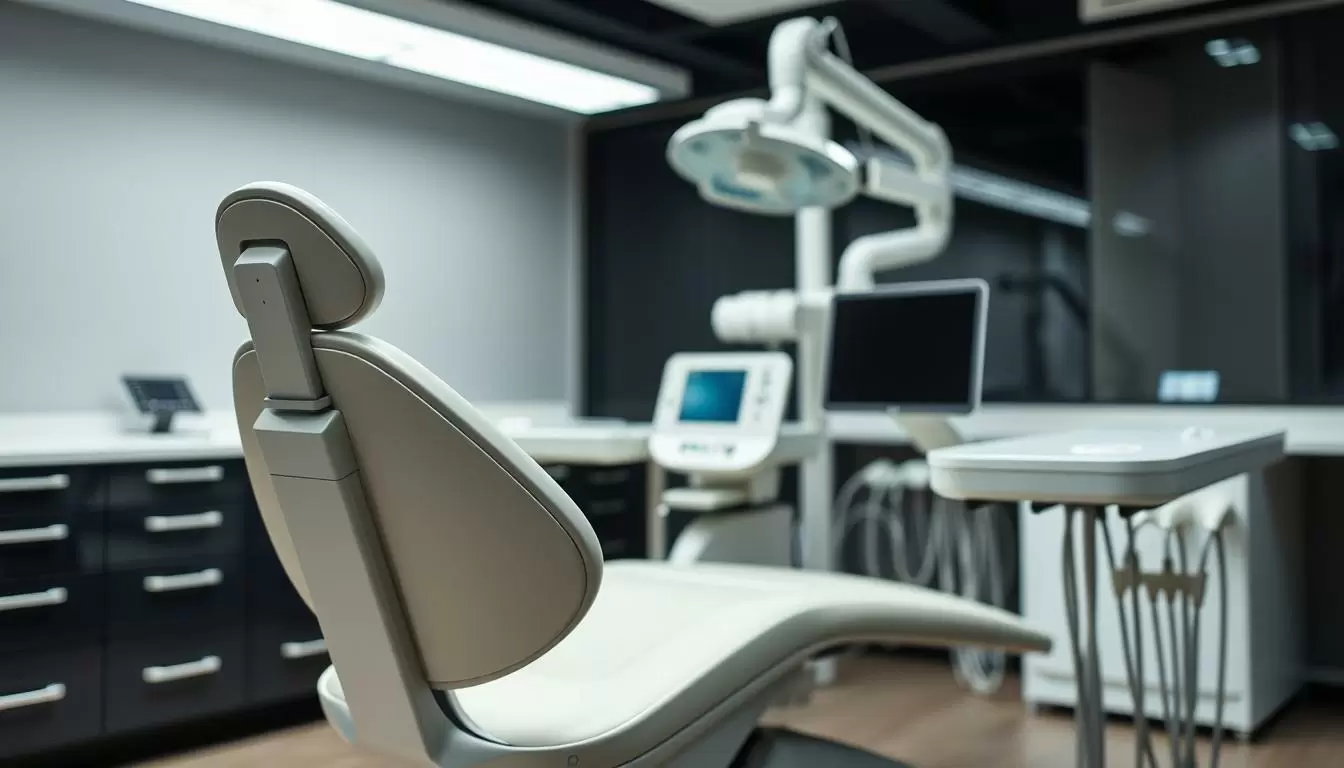
This guide is for clinic owners, room planners, and dental equipment dealers comparing chair setups for orthodontic, hygiene, or mixed-use treatment rooms. It is buyer-planning content, not clinical advice. Before selecting a chair, review the dental operatory layout requirements, dental chair positioning, and Anya’s categoría de unidades dentales.
Start by Defining the Room Purpose
The chair decision should follow the room’s actual work. A room used mainly for orthodontic checks may need easy patient entry, simple chair positioning, good communication space, and clear assistant movement. A hygiene room may need comfortable recline, reliable visibility, suction access, and an efficient cleaning reset. A mixed-use room needs a documented setup that staff can repeat without reinventing the room every appointment.
Do not approve a chair because it can theoretically fit every room. Instead, write down the room purpose, patient flow, typical appointment style, provider and assistant positions, expected lighting, suction needs, storage constraints, and cleaning routine. Those details make the quote more useful and reduce later installation surprises.
Plan Patient Flow Before Chair Selection
Patient flow is the first practical test of the room. Mark where the patient enters, where the chair faces at the start of the appointment, how the patient reclines or returns upright, and where the patient exits. Then check whether stools, carts, cabinets, delivery arms, and doors still have space to move when the chair is in its working position.
In an orthodontic room, the flow may emphasize communication and repeated access. In a hygiene room, the flow may emphasize patient comfort, stable positioning, suction reach, and reset speed. In a mixed-use room, the flow must be written down so staff do not rely on memory when switching between appointment types.
Orthodontic Dental Chair Setup Priorities
Orthodontic rooms often depend on efficient patient movement and repeated viewing angles. The chair should make it easy for patients to sit, reposition, and exit without blocking the next step in the room. The clinician and assistant should be able to reach the patient, tray, light, and controls without crowding the room.
Headrest and backrest behavior matter because orthodontic checks may involve frequent changes in viewing angle. The chair should support clear access without making the patient feel trapped by armrests or surrounding equipment. Ask the supplier to confirm the exact headrest, armrest, and delivery configuration instead of relying on a generic product image.
Hygiene Room Chair Setup Priorities
Hygiene rooms often place more emphasis on steady positioning, patient comfort, suction reach, and a repeatable cleaning turnover. The chair should support the hygienist’s working posture, patient recline, light reach, and assistant or solo workflow depending on the clinic model.
For hygiene, the buyer should review the headrest, armrests, suction location, tray or instrument reach, foot control, and how the room resets between patients. A chair that looks comfortable but blocks suction hoses or makes the light hard to position can create daily friction. Use the integración de succión en unidades dentales y built-in vs separate light guides when comparing the full room setup.
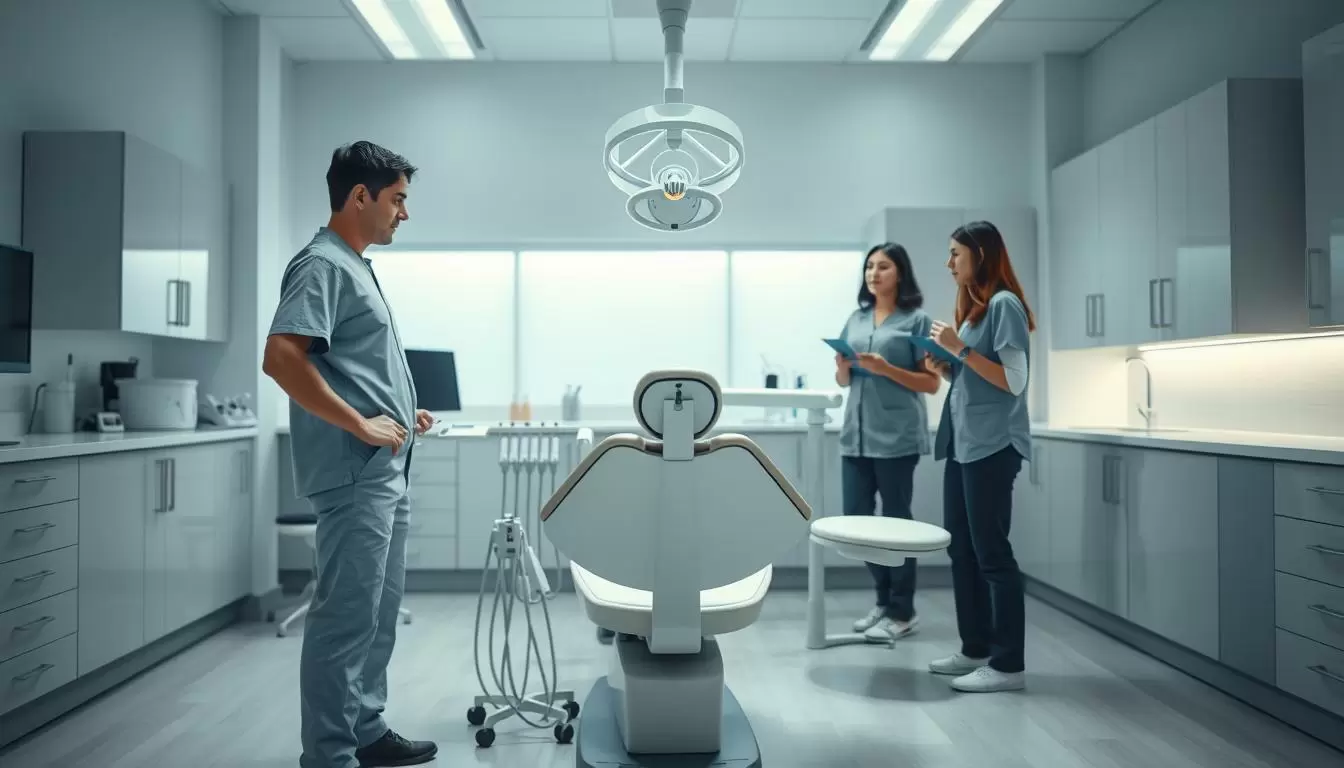
Chair Setup Checklist
| Area | What to check | Pregunta del comprador |
|---|---|---|
| Room purpose | Orthodontic checks, hygiene appointments, mixed use, or overflow treatment. | What will this room do most often? |
| Patient flow | Entry path, exit path, waiting-to-chair movement, and turnover rhythm. | Can patients move in and out without crossing staff work zones? |
| Chair positioning | Entry position, recline position, working position, and return path. | Does the chair support the common positions for this room? |
| Headrest | Adjustment, support, visibility, and patient comfort for the expected patient mix. | Which headrest configuration is included with the quoted chair? |
| Armrests | Side access, patient transfer, clinician access, and cleaning touchpoints. | Will the armrests help access or block daily workflow? |
| Delivery and assistant access | Tray position, controls, suction, handoff path, and assistant-side reach. | Can the provider and assistant work without twisting or crossing the patient path? |
| Lighting and suction | Light reach, shadow control, hose route, suction access, and service points. | Do light and suction still work after the chair is in its real position? |
| Stool and cabinet clearance | Stool path, cabinet doors, drawers, carts, and storage access. | Can the team move without bumping into furniture or equipment? |
| Cleaning and reset | Touched surfaces, removable items, storage, and repeatable room reset. | How quickly can staff reset the room according to clinic policy? |
| Documents and service | Final configuration, manuals, cleaning instructions, service route, and parts references. | What documents support the exact ordered setup? |
Lighting, Suction, and Room Reset
Lighting and suction should be reviewed after the chair is placed in its real position. A light that reaches well in one chair angle may create shadows in another. A suction hose that looks reachable in a product photo may pull across the assistant’s path in the actual room. Buyers should check these items with the headrest and recline position that the room will use most often.
Room reset is another difference between a good-looking setup and a useful one. Staff need a predictable routine for touched surfaces, light handles, suction hoses, trays, headrest, armrests, controls, and removable accessories. If the room is mixed-use, the reset routine should also explain where accessories are stored and how the next provider knows which setup is ready.
Documentation for Repeatable Rooms
A clinic with several orthodontic or hygiene rooms benefits from standard documentation. Keep the final chair model, delivery configuration, headrest, armrests, light, suction setup, stool notes, cabinet constraints, cleaning instructions, and service contact in one room file. This helps staff train faster and helps dealers support repeat orders without guessing from old photos.
Documentation is especially important when the clinic opens rooms in phases. The first room becomes the reference for the second room only if the configuration is recorded clearly. Otherwise, a later order may look similar but arrive with a different control location, headrest behavior, accessory list, or delivery setup.
Orthodontic Room vs Hygiene Room vs Mixed-Use Room
| Room type | Primary workflow | Chair setup focus | Risk if skipped |
|---|---|---|---|
| Orthodontic room | Repeated checks, communication, patient movement, and efficient access. | Easy entry, clear head access, simple positioning, and assistant movement. | A room that feels slow, crowded, or awkward for frequent visits. |
| Hygiene room | Comfortable positioning, visibility, suction access, and repeatable turnover. | Stable recline, headrest support, light reach, suction route, and cleaning reset. | Provider fatigue, poor reach, slow cleaning, and inconsistent patient comfort. |
| Mixed-use room | Different appointment types sharing one operatory. | Documented setup, flexible chair position, clear storage, and staff training. | Accessories and room settings become inconsistent between appointments. |
Common Setup Mistakes
- Choosing a chair before defining whether the room is mainly orthodontic, hygiene, or mixed use.
- Planning patient flow from a floor plan without checking actual chair recline and stool movement.
- Assuming the same headrest and armrest setup works equally well for every room type.
- Ignoring suction and light reach until after installation.
- Letting cabinets, carts, or storage block assistant movement.
- Forgetting to document the final setup for staff training and future orders.
- Making treatment outcome claims based on equipment selection alone.
Questions to Ask Before Ordering
- Which room type is this chair configuration serving?
- Which chair position will be used most often?
- How will the headrest support visibility and patient comfort?
- Will armrests support patient access or block the working side?
- Where will suction, light, trays, and controls sit in the real room?
- Can stools move without colliding with cabinets, carts, or the chair base?
- How will staff clean, reset, and document the room between appointments?
For rooms that depend on close teamwork, use the four-handed dentistry setup guide as a workflow reference. For patient support details, review dental chair headrest types y dental chair armrest design.
What to Send to the Supplier
A useful inquiry should include the room purpose, floor plan, preferred chair family, right- or left-handed workflow, delivery preference, light and suction questions, cabinet constraints, expected room turnover, and any storage requirements. If the buyer already knows whether the room is orthodontic-only, hygiene-only, or mixed-use, say so clearly.
The supplier can then answer with model-specific configuration questions instead of giving a generic chair recommendation. That is the difference between buying a chair and planning a room that the clinical team can actually use every day.
PREGUNTAS FRECUENTES
What is an orthodontic dental chair setup?
It is a chair and room configuration planned around orthodontic workflow, including patient entry, positioning, visibility, assistant movement, light reach, and room turnover.
Can the same chair work for orthodontic and hygiene rooms?
Sometimes, but the buyer should confirm the exact configuration, room layout, suction, light, stool movement, and reset workflow for each room type.
What matters most in a hygiene room chair setup?
Stable patient positioning, visibility, suction reach, provider posture, cleaning workflow, and practical access to instruments and storage all matter together.
Should a mixed-use room use fewer accessories?
Not necessarily. It should use a documented setup so accessories, storage, cleaning, and room reset remain consistent between different appointment types.
What should buyers send to the supplier?
Send the room purpose, floor plan, chair model preferences, delivery needs, suction and light questions, stool/cabinet constraints, and cleaning or service expectations.
Planning an orthodontic or hygiene room chair setup? Browse Anya’s unidades dentales, then Contacte a Anya Medical with your room purpose, layout, and workflow questions.